How Custom Headwear Sampling Works
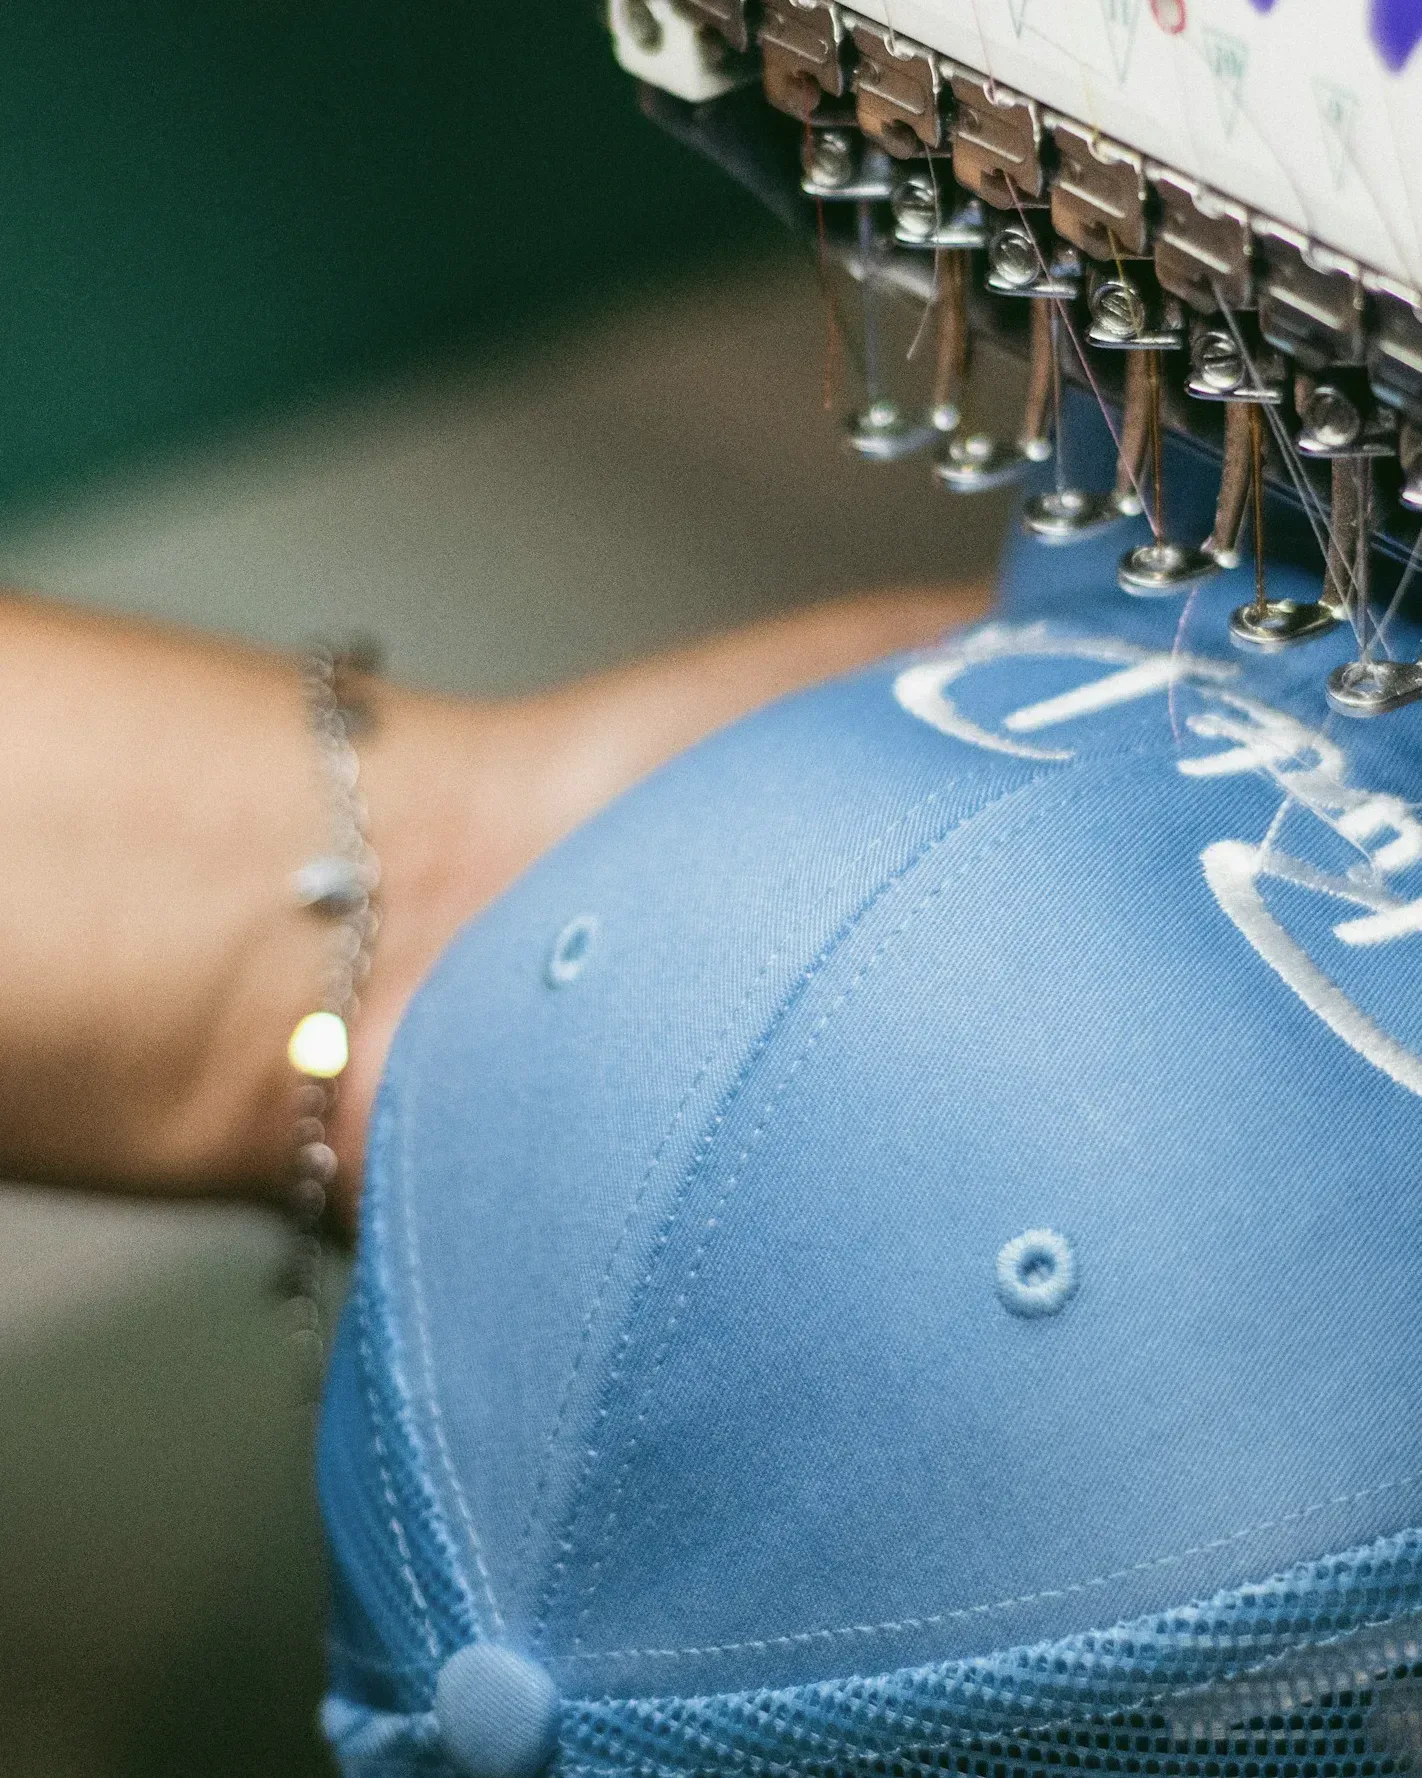
Sampling turns an approved tech pack into a physical cap you can judge. The approved sample becomes the reference for bulk production and for inspection before dispatch.
Updated · Caps Island product development
Key takeaways
- At Caps Island the tech pack is approved before sampling, and sampling takes 7–14 days depending on the design.
- The sample you approve should use the same materials, trims and decoration as bulk.
- Evaluate the sample against the tech pack in a fixed order and send consolidated, measured comments.
- Changes to pattern, profile or fabric effectively restart the sample; small placement or color changes do not.
Where sampling fits in the process
Sampling is the step where a specification becomes a physical cap you can hold, wear and judge. At Caps Island it follows a fixed order: inquiry, quotation, tech pack approval, sampling, bulk production, and inspection and delivery. The tech pack, containing artwork, placement, dimensions and colors, is prepared and sent to you for approval before anything is sewn. Sampling then takes 7–14 days depending on the design, and its outcome decides whether bulk production can start.
The order matters. Approving the tech pack first means the sample is built against an agreed document rather than an informal brief. When the sample arrives, every comment you make can be checked against a written specification, and every change can be recorded in a new revision. That traceability protects both sides when bulk goods are inspected later, because there is no debate about what the target was.
- 01Project inquiry
- 02Quotation
- 03Technical specifications
- 04Sampling7–14 days
- 05Bulk production
- 06Inspection and delivery
Types of samples and what each one proves
The headwear industry uses several sample terms. Not every project needs all of them. A repeat of an existing style with a new logo may only need one approval sample, while a new pattern with custom-dyed fabric may go through more than one round and a separate color approval.
| Sample type | Purpose | What to check |
|---|---|---|
| Proto sample | First physical version of a new style or pattern | Shape, profile, proportions, general construction |
| Lab dip | Color approval for fabric dyed to a reference | Color match under the agreed light source |
| Strike-off | Test of a print or decoration on the actual fabric | Appearance, registration, color on the base fabric |
| Pre-production sample (PPS) | Built with final materials, trims and decoration | Everything; it becomes the reference for bulk |
| Top of production (TOP) sample | Taken from the first bulk output | Confirms bulk matches the approved PPS |
Definitions of these terms are in the glossary. In practice, the sample you approve before bulk should represent the bulk order as closely as possible: same fabric, same buckram, same thread colors, same labels. If a component is substituted on the sample, for example a stock fabric color used in place of a custom-dyed one, note it in writing so everyone knows which parts of the sample are approved and which still need confirmation.
What to prepare before sampling
A good sample starts with complete inputs. Missing information does not stop a sample from being made, but it forces assumptions, and assumptions are the most common cause of a second round. Gather the following before the tech pack is drafted.
- Artwork in vector format (AI, EPS, PDF or SVG) for every logo, with the size you want on the cap.
- Color references as Pantone codes, ideally TPX or TCX for fabric, plus a reference for each embroidery thread color.
- Reference caps or photos showing profile, brim curve and any construction detail you want to match.
- Material preferences, such as cotton twill, washed cotton, polyester performance fabric or wool blend.
- Labels and trims: inside label, size label, sweatband type, closure and any custom hardware.
- Packaging needs, if the sample should also show the hang tag or polybag format.
If your project requires certified materials, state it at this stage; availability is confirmed per material. Detailed guidance on what goes into the document is in how to prepare a cap tech pack.
How to evaluate a sample
Review the sample against the approved tech pack, not against memory or a mood board. Work through it in a fixed order so nothing is skipped, and write comments a production team can act on: what is wrong, where it is, and what it should be instead.
- Overall shape and crown profile match the reference from the front and side
- Front panel height and crown depth measured and compared to the tech pack
- Head circumference and closure range checked on several wearers
- Fabric, color and surface finish checked in daylight and under indoor lighting
- Embroidery or print position measured from the brim seam and center seam
- Stitch quality: even density, clean edges, no loose threads, no puckering
- Brim shape, length, stitching rows and curve
- Interior: sweatband, seam taping, labels and their placement
- Closure function and finish
- Hang tag, polybag or other packaging, if included
Photograph each issue with a ruler or tape measure in frame. A comment such as "logo too low" is open to interpretation; "bottom edge of logo sits 12 mm above the brim seam, should be 18 mm" can be fixed in one step. Group all comments into one message so nothing is lost between emails.
Revisions and approval
If the sample needs changes, the tech pack is updated first and the revised sample is made against the new version. Small changes, such as moving a logo a few millimeters or changing a thread color, are usually straightforward. Changes to the pattern, profile or fabric effectively restart the sample, because they affect how every other component sits on the cap.
When the sample is right, approve it in writing and keep one approved sample on each side. That sample, together with the final tech pack, is the reference for bulk production and for the inspection before dispatch. If you need extra samples for sales meetings or photography, request them at this point so they are made from the same approved setup.
- Receive the sample and review it against the approved tech pack.
- Send consolidated comments with photos and measurements in one message.
- Confirm the revised tech pack before a further sample is made.
- Approve the final sample in writing and retain a reference piece.
- Confirm the quotation for bulk, including quantities per style and color.
Keep a short approval record: the tech pack revision, the date, who approved, and any conditions, such as approval subject to one thread color matching its lab dip. Conditional approvals are normal, but each condition needs an owner and a clear way to close it before bulk production starts.
Sampling multiple styles and colorways
Programs with several colorways do not always need a full sample of each. A common approach is to sample one colorway completely and approve the others from lab dips, strike-offs or thread cards, because the construction is identical. Where colorways differ in decoration, such as tonal embroidery on one and contrast embroidery on another, a sample of each decoration variant is worth the time.
The published minimum order quantity is 200 pieces for caps and 500 for beanies, and how it applies per style or color is confirmed on the quotation. That answer often shapes how many variants are worth developing. If a range includes different shapes, for example a structured cap and a beanie, each shape needs its own sample because the construction has nothing in common.
Common sampling mistakes
Most delays in development come from process rather than manufacturing. The patterns below are avoidable with a little discipline on the buyer side.
- Changing the brief after the sample. Treat a new idea as a new revision, not as a comment on the current one.
- Commenting in fragments. Feedback spread over several emails is easy to miss. Send one consolidated list.
- Approving from photos only. Photos hide fit, hand feel and color accuracy. Approve from the physical sample.
- Forgetting placeholder materials. Record every substitution on the sample and how it will be resolved in bulk.
- Skipping the wear test. Put the cap on several heads of different sizes before signing off.
Plan the sampling window into your launch calendar. Sampling takes 7–14 days depending on the design, plus transit and your own review time. Bulk lead time is confirmed on the quotation and depends on quantity, materials and decoration. More on how development is organized is on product development and sampling, and you can start a project through request a quote.
Questions, answered
How long does sampling take?
Sampling takes 7–14 days depending on the design, after the tech pack has been approved. Transit of the sample and your review time come on top.
Why is the tech pack approved before sampling?
It gives the sample a written target. Every comment on the sample can then be checked against the agreed artwork, placement, dimensions and colors, and every change is recorded as a revision.
Do I need a sample for every colorway?
Not always. If construction and decoration are identical, one colorway can be sampled fully and the others approved from lab dips or thread cards. Different decoration variants are usually worth sampling separately.
What happens to the approved sample?
It becomes the reference for bulk production and for the inspection before dispatch. Keep one approved piece on your side and store it with the final tech pack.
Let's make your cap.
Style, quantity, colors and artwork are enough to start. A project contact replies with questions or a quotation.