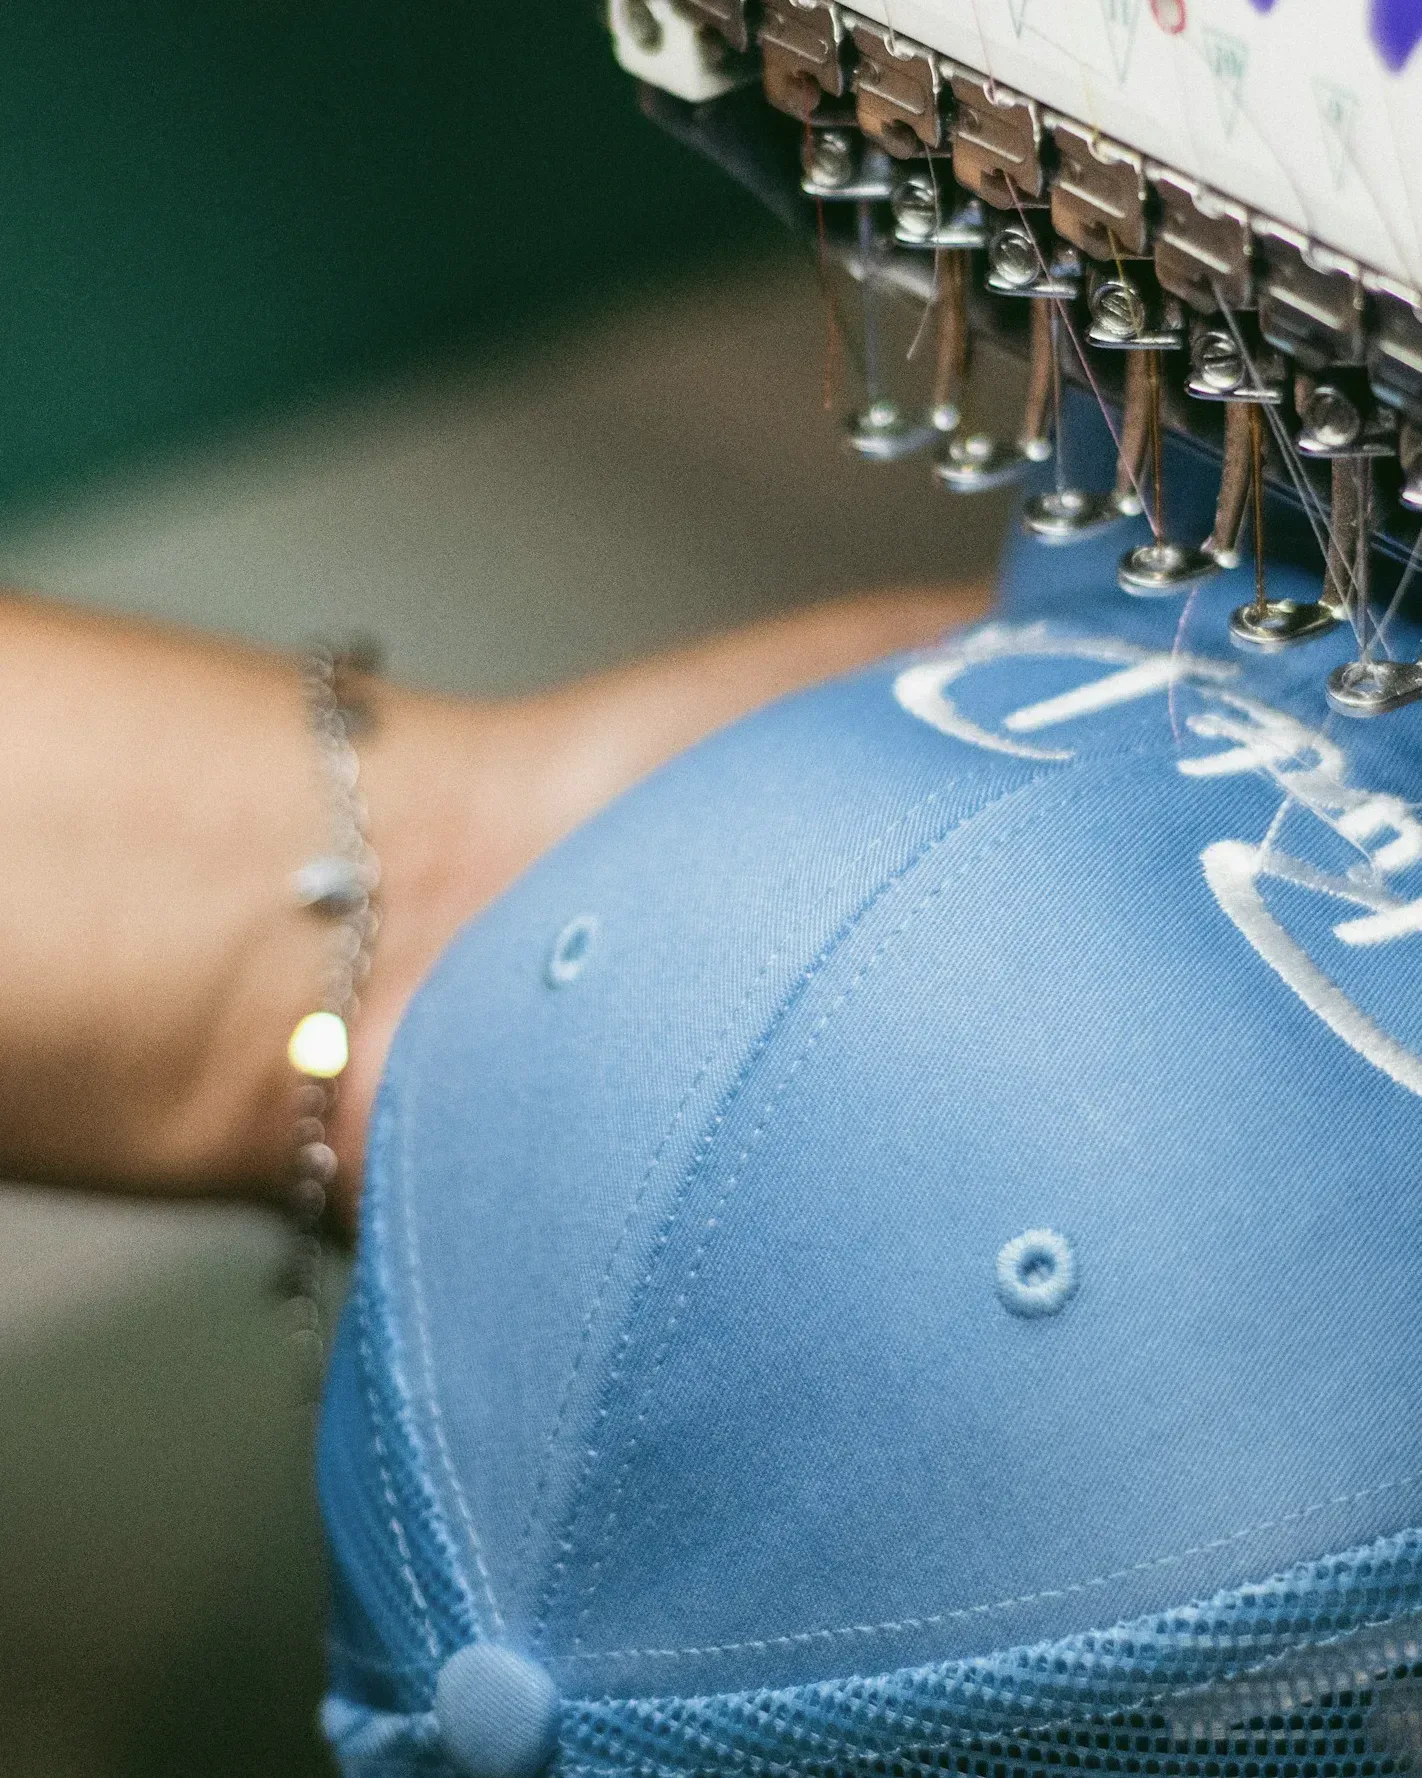
How to Prepare a Cap Manufacturing Tech Pack
A tech pack describes a cap completely enough to be made without guesswork. Supplying precise inputs and reviewing the draft carefully is the most effective way to get a right first sample.
Updated · Caps Island product development
Key takeaways
- At Caps Island the tech pack is prepared and sent to the buyer for approval before sampling.
- Every measurement needs a number and a reference point, not a description.
- List Pantone references per component, because one color looks different on fabric, thread and labels.
- Position decoration from fixed points such as the brim seam and center seam.
- After approval, any change creates a new revision; sample and bulk are judged against a named revision.
What a tech pack is for
A tech pack is the technical document that describes a cap completely enough for it to be made without guesswork. It records construction, materials, dimensions, colors, decoration, labels and packaging, usually as annotated drawings with tables. For headwear, it is the single reference used by pattern makers, embroidery teams, sample makers and the inspectors who check goods before dispatch.
At Caps Island, a tech pack containing artwork, placement, dimensions and colors is prepared and sent to the buyer for approval before sampling. Your role as a buyer is to supply the inputs and to check the draft carefully. The clearer your inputs, the closer the first draft will be to what you want, and the fewer revisions the sample will need. This guide explains what those inputs are and how to review the document.
Tech pack structure
Formats vary, but a complete cap tech pack usually contains the sections below. For a simple repeat style some sections fit on one page; for a new pattern with several colorways each can run longer.
| Section | Contents | Your input |
|---|---|---|
| Cover and summary | Style name, reference number, revision, date, colorways | Style name, internal code, number of colorways |
| Technical drawings | Front, side, back, top and underside views with callouts | Reference caps or photos |
| Construction | Panel layout, structure, crown profile, brim, closure, eyelets, button | Preferred style or catalogue reference |
| Bill of materials | Fabric, buckram, brim insert, sweatband, thread, seam tape, trims | Material preferences and any requirements |
| Measurements | Front height, crown depth, brim length and width, head size range | Target fit or reference measurements |
| Color specification | Pantone codes for each component and colorway | Pantone TPX or TCX codes, or physical swatches |
| Artwork and placement | Decoration method, size, position from fixed points | Vector artwork and placement intent |
| Labels and packaging | Inside labels, hang tags, polybag, carton marking | Label artwork, barcode data, packing instructions |
- Button
- Eyelet
- Side panel
- Front panel + buckram
- Brim (insert inside)
- Sweatband + seam tape
- Closure
- Panel seam, double topstitched
Construction and measurements
Construction details define the shape of the cap. State the panel layout (five-panel, six-panel or another), whether the front is structured with buckram or left unstructured, the crown profile, the brim shape and the closure. Use component names consistently; the glossary gives a common vocabulary for your team and the factory. If you are deciding between layouts, five-panel vs six-panel caps covers the differences.
Measurements turn a description into something that can be checked. The key points for a cap are listed below. Measure a reference cap you like if you have one, and note how you measured, for example along the surface or in a straight line.
- Front panel height, from the brim seam to the top button.
- Crown depth at the center back.
- Brim length from the brim seam to the outer edge at the center, and brim width at its widest point.
- Head circumference range covered by the closure, or the size run for fitted caps. Adult caps are typically sized between roughly 55 and 61 cm.
- Eyelet positions and the closure opening size.
Tolerances belong next to each measurement. Rather than copying a tolerance figure from another product, agree during sampling what variation is acceptable for each point, then record it so the inspection before dispatch uses the same values.
Materials and colors
The bill of materials lists every component, including those buyers often forget: buckram, brim insert, sweatband, seam tape, thread and closure hardware. For each item, give a material, a color and a finish. If you have a preference but no fixed requirement, say so; it leaves room for an equivalent option that may be easier to source. Fabric choices are covered in choosing fabric for custom caps.
Color should be specified with Pantone codes. For textiles, TPX (paper) and TCX (cotton) references describe how a color should look on fabric. Coated and uncoated print references are less reliable for dyed materials. Embroidery threads come in their own color ranges, so the thread is matched to your Pantone as closely as the range allows; approve that match on the sample.
Artwork and decoration placement
Each decoration needs its method, size, colors and position. Position should be measured from fixed reference points, not described loosely. For a front logo, give the distance from the brim seam to the bottom of the artwork and confirm that it is centered on the center seam or panel center. For side logos, state which side as worn and the distance from the brim and the side seam.
- Front center
- Left side
- Right side
- Back, above closure
- Brim top
- Undervisor
- Inside: tape, labels
| Position | How to specify | Typical methods |
|---|---|---|
| Front center | Width and height in mm, distance above brim seam | Flat or 3D puff embroidery, patch, print |
| Side panel | Side as worn, size, distance from brim and side seam | Flat embroidery, small patch, print |
| Back arch | Size, distance above the closure opening | Flat embroidery, print |
| Brim top or underside | Size, distance from the brim edge | Print, flat embroidery on top |
| Inside | Label type, position on sweatband or seam tape | Woven label, printed seam tape |
Supply vector artwork. Raster files are useful as reference, but embroidery digitizing and print setup both work from clean outlines. Point out small text and fine lines, because very small detail may need adjustment for embroidery. Method choices are discussed in flat vs 3D puff embroidery and on embroidery and logo applications.
Labels, packaging and compliance
Private label programs need the label set defined in the same document: main woven label, size label where applicable, care information, country of origin marking and any brand tape. Country of origin is stated on the quotation and should appear on labels in line with the rules of your sales markets. Hang tags, barcode stickers, polybags and carton markings follow. See private label packaging for the options.
If your project requires certified materials, state it in the RFQ and repeat it in your tech pack inputs; availability is confirmed per material. Anything a retailer requires, such as a specific barcode format or carton label layout, is easier to build in now than to correct after production.
Reviewing and approving the tech pack
When the draft arrives, review it with the people who will judge the final product: the designer for look and placement, the product or sourcing lead for materials and labels, and whoever handles logistics for packaging. Approve only when every open question has an answer. Anything left as to be confirmed will either delay the sample or be decided for you.
- Style name, reference and revision number are correct
- Drawings match the intended panel layout, profile and brim
- Every measurement has a value, not a description
- Each component in the bill of materials has a material, color and finish
- Pantone references are listed per component and per colorway
- Artwork files are the final versions, at the intended size
- Decoration positions are measured from fixed reference points
- Labels, hang tags and packaging are specified or explicitly excluded
- Quantities per colorway match the quotation
After approval, any change creates a new revision. Keep the revision number on every email and file name. When the sample arrives, check it against the revision it was made from, not against the latest idea. This keeps sampling, which takes 7–14 days depending on the design, focused on one agreed target. The next stage is explained in how custom headwear sampling works.
The gaps found most often in first drafts are predictable: no thread color for small logo details, no instruction for the undervisor color, no decision on seam tape, and a logo described as centered without a vertical measurement. Checking those four points before approval removes many avoidable revisions.
Questions, answered
Do I need to create the tech pack myself?
No. At Caps Island the tech pack is prepared and sent to you for approval before sampling. You supply the inputs: artwork, references, colors, materials, labels and packaging requirements.
What file format should artwork be in?
Vector formats such as AI, EPS, PDF or SVG are preferred. Raster images are useful as a visual reference but are not ideal for embroidery digitizing or print setup.
How should I specify logo position?
Measure from fixed points on the cap. For a front logo, give the distance from the brim seam to the bottom of the artwork and confirm horizontal centering on the center seam or panel center.
Can I change the tech pack after approval?
Yes, but every change creates a new revision, and changes to pattern, profile or fabric usually require a new sample. Small placement or color changes are simpler.
Let's make your cap.
Style, quantity, colors and artwork are enough to start. A project contact replies with questions or a quotation.