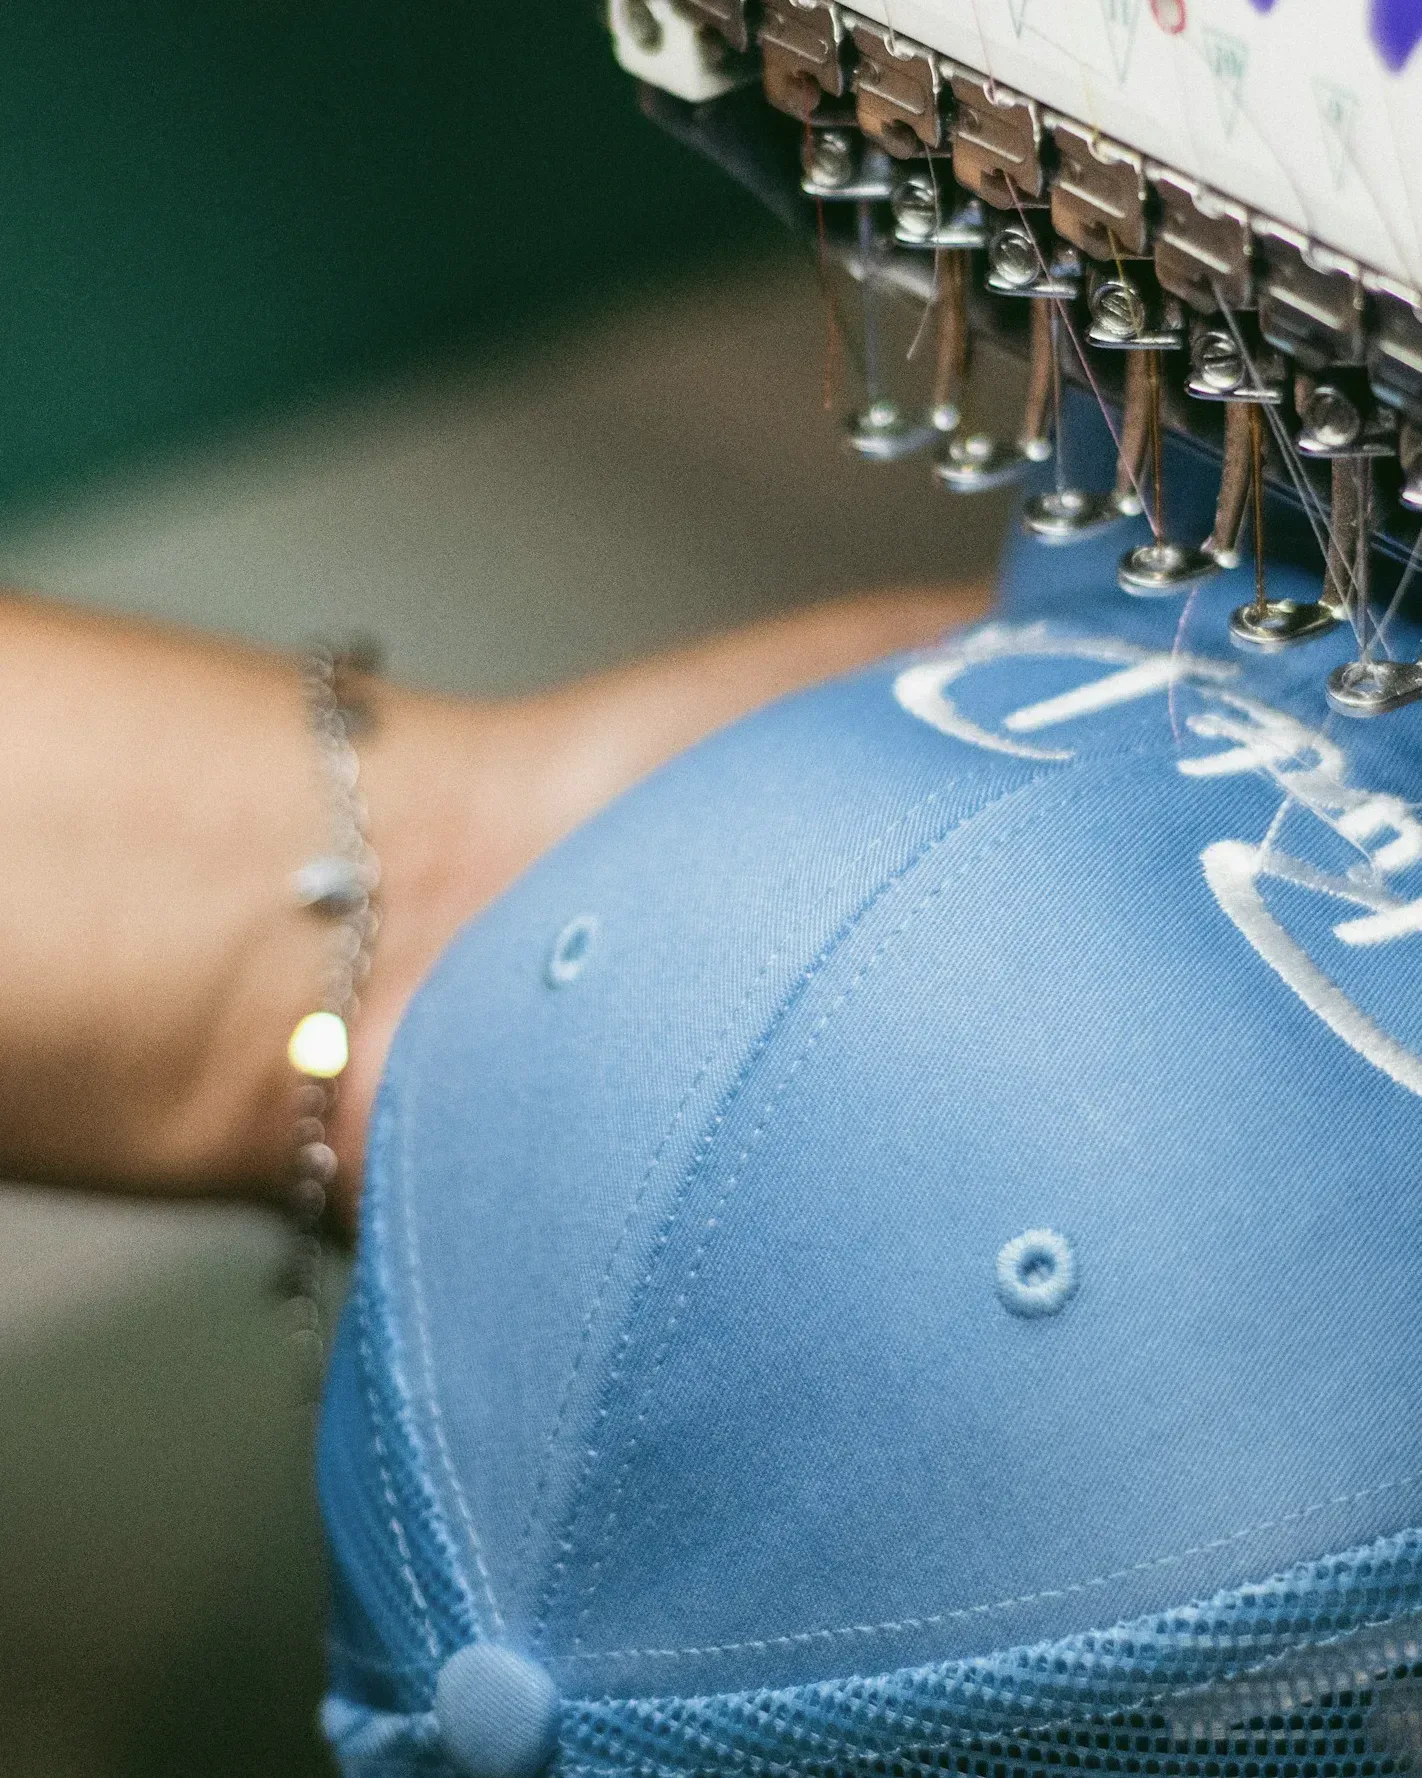
Embroidery & Logo Applications
The decoration method decides how a logo reads on a cap and how much detail survives production. Artwork, fabric, construction and position all limit what is feasible. This page explains the main methods, where they work best and how they affect cost and development.
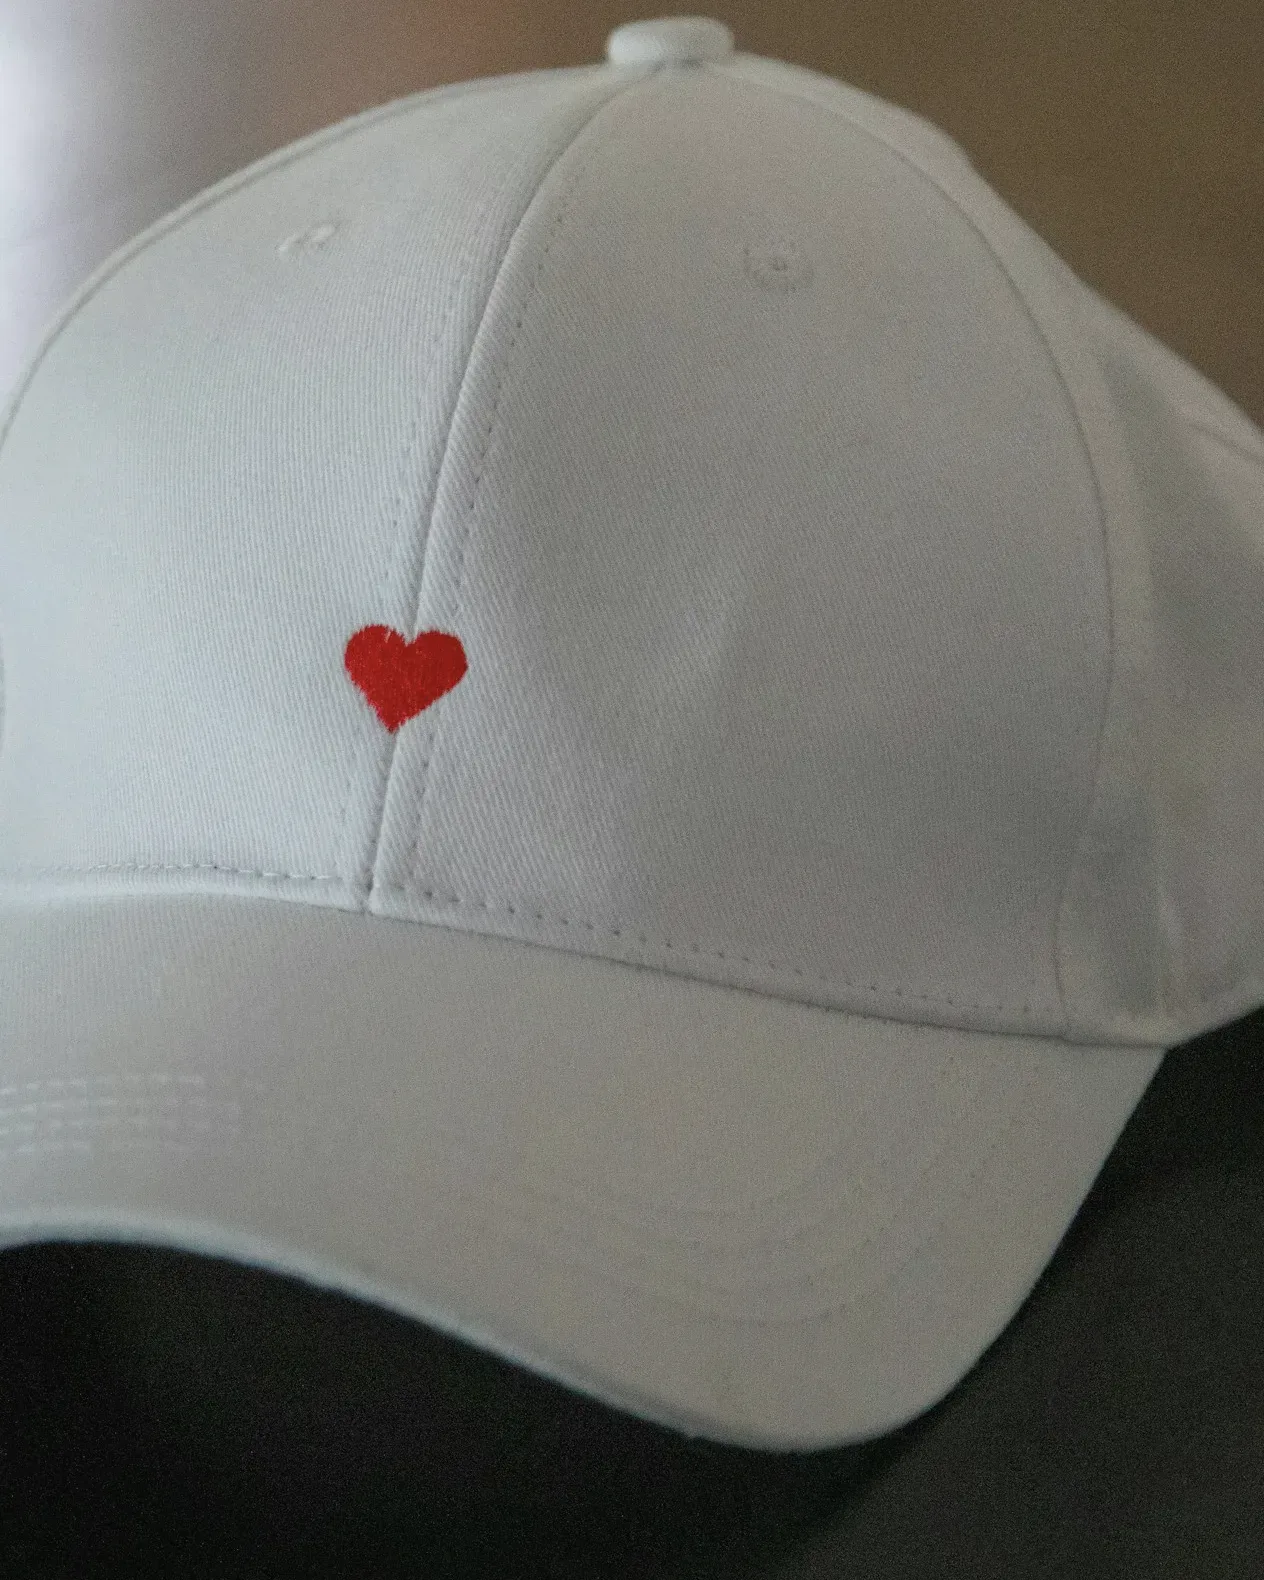
Embroidery types
Embroidery is the most common decoration on caps. Thread is stitched directly into the panel, usually with a backing behind it for stability. The stitch type and underlay determine texture, height and the smallest detail that can be reproduced.
- Flat embroidery: the standard method. Clean, durable, suitable for most logos including moderate text.
- 3D puff embroidery: stitched over a foam underlay to create a raised effect. Best for bold shapes and thick letters, not for small text or fine lines.
- Outline or raised embroidery: a raised edge around a flat-filled area, used to add depth without full puff.
- Chain stitch: a looped stitch with a vintage, hand-drawn look, suited to script and line art.
- Appliqué: a fabric piece stitched onto the panel with an embroidered border, useful for large areas without dense stitching.
Flat embroiderySatin or fill stitches on the surface
3D puff embroideryStitches wrap a foam underlay
- Cap fabric + backing
- Foam
The guide on flat vs 3D puff embroidery shows how the same logo behaves in each method.
Comparing decoration methods
Patches and printing complement embroidery where artwork, fabric or budget point elsewhere. The table compares methods in relative terms.
| Method | Best for | Limitations | Relative cost | Development |
|---|---|---|---|---|
| Flat embroidery | Most logos and text | Very fine detail and gradients | Base reference | Digitizing, strike-off if detail is critical |
| 3D puff embroidery | Bold shapes, thick letters | Small text, thin lines, tight curves | Higher than flat | Strike-off recommended |
| Embroidered patch | Badges, layered designs | Thick, adds weight | Moderate | Patch sample |
| Woven patch or label | Fine detail and small text | Flat, limited texture | Moderate | Patch sample |
| PVC or rubber patch | Sharp edges, bold color | Rigid, stiffens the area | Higher, includes mold | Mold and sample |
| Leather or faux leather patch | Debossed or printed marks | Limited color | Moderate to higher | Patch sample |
| Felt or chenille patch | Varsity and retro styles | Large minimum detail size | Moderate to higher | Patch sample |
| Screen printing | Flat graphics on smooth fabric | Setup per color, curved surface | Low on volume | Screen setup |
| Heat transfer | Full color, fine detail | Surface feel, durability depends on transfer | Moderate | Transfer sample |
| Sublimation | All-over or photographic prints | Polyester fabrics only | Moderate | Print sample |
Artwork and detail limits
Embroidery converts artwork into stitches through digitizing. Thread has a physical width, so details below a certain size fill in or disappear. Stitch counts for a typical front logo range from a few thousand to well over ten thousand, depending on size and fill. Higher stitch counts mean longer machine time and higher cost.
- Supply vector artwork with every color identified.
- Simplify gradients and shading, or move them to a woven patch or print.
- Check small text at actual size: if it is hard to read printed at that size, it will be hard to read in thread.
- Avoid thin outlines in 3D puff; the foam needs width to hold its shape.
- Limit thread colors where possible; each color is a thread change in production.
- Agree on thread color references before the strike-off, not after.
Dense embroidery on light or unstructured fabric can pucker. If the logo is large and dense, a structured front or a patch may give a cleaner result. See cap construction and panel design for how structure affects decoration.
Strike-offs for critical logos
A strike-off is a decoration test on the actual fabric before the full sample is sewn. It is worth requesting when the logo has small text, several thread colors, 3D puff elements or a strict brand color. It costs little compared with a full sample round and settles digitizing questions early, so the pre-production sample can focus on shape and finishing.
Decoration positions
The front is the primary position, but side panels, rear, brim and interior can all carry branding. Each position has its own size limits and production sequence.
- Front center
- Left side
- Right side
- Back, above closure
- Brim top
- Undervisor
- Inside: tape, labels
| Position | Typical use | Construction note | Cost effect |
|---|---|---|---|
| Front center | Main logo | Six-panel center seam runs through it | Base |
| Side panel | Secondary mark, flag, number | Curved panel, compact size | Adds a decoration step |
| Rear, above closure | Small logo or text | Size limited by the rear opening | Adds a decoration step |
| Brim top or underbrim | Small mark, print | Usually decorated before the brim is sewn | Adds a step, affects sequence |
| Inside sweatband or taping | Brand message | Printed tape or label | See labels and packaging |
Some positions must be decorated on flat panels before the cap is sewn, others after. This affects production sequence, and a late change in position can mean new panels. Fix all positions in the tech pack before sampling.
Thread and color matching
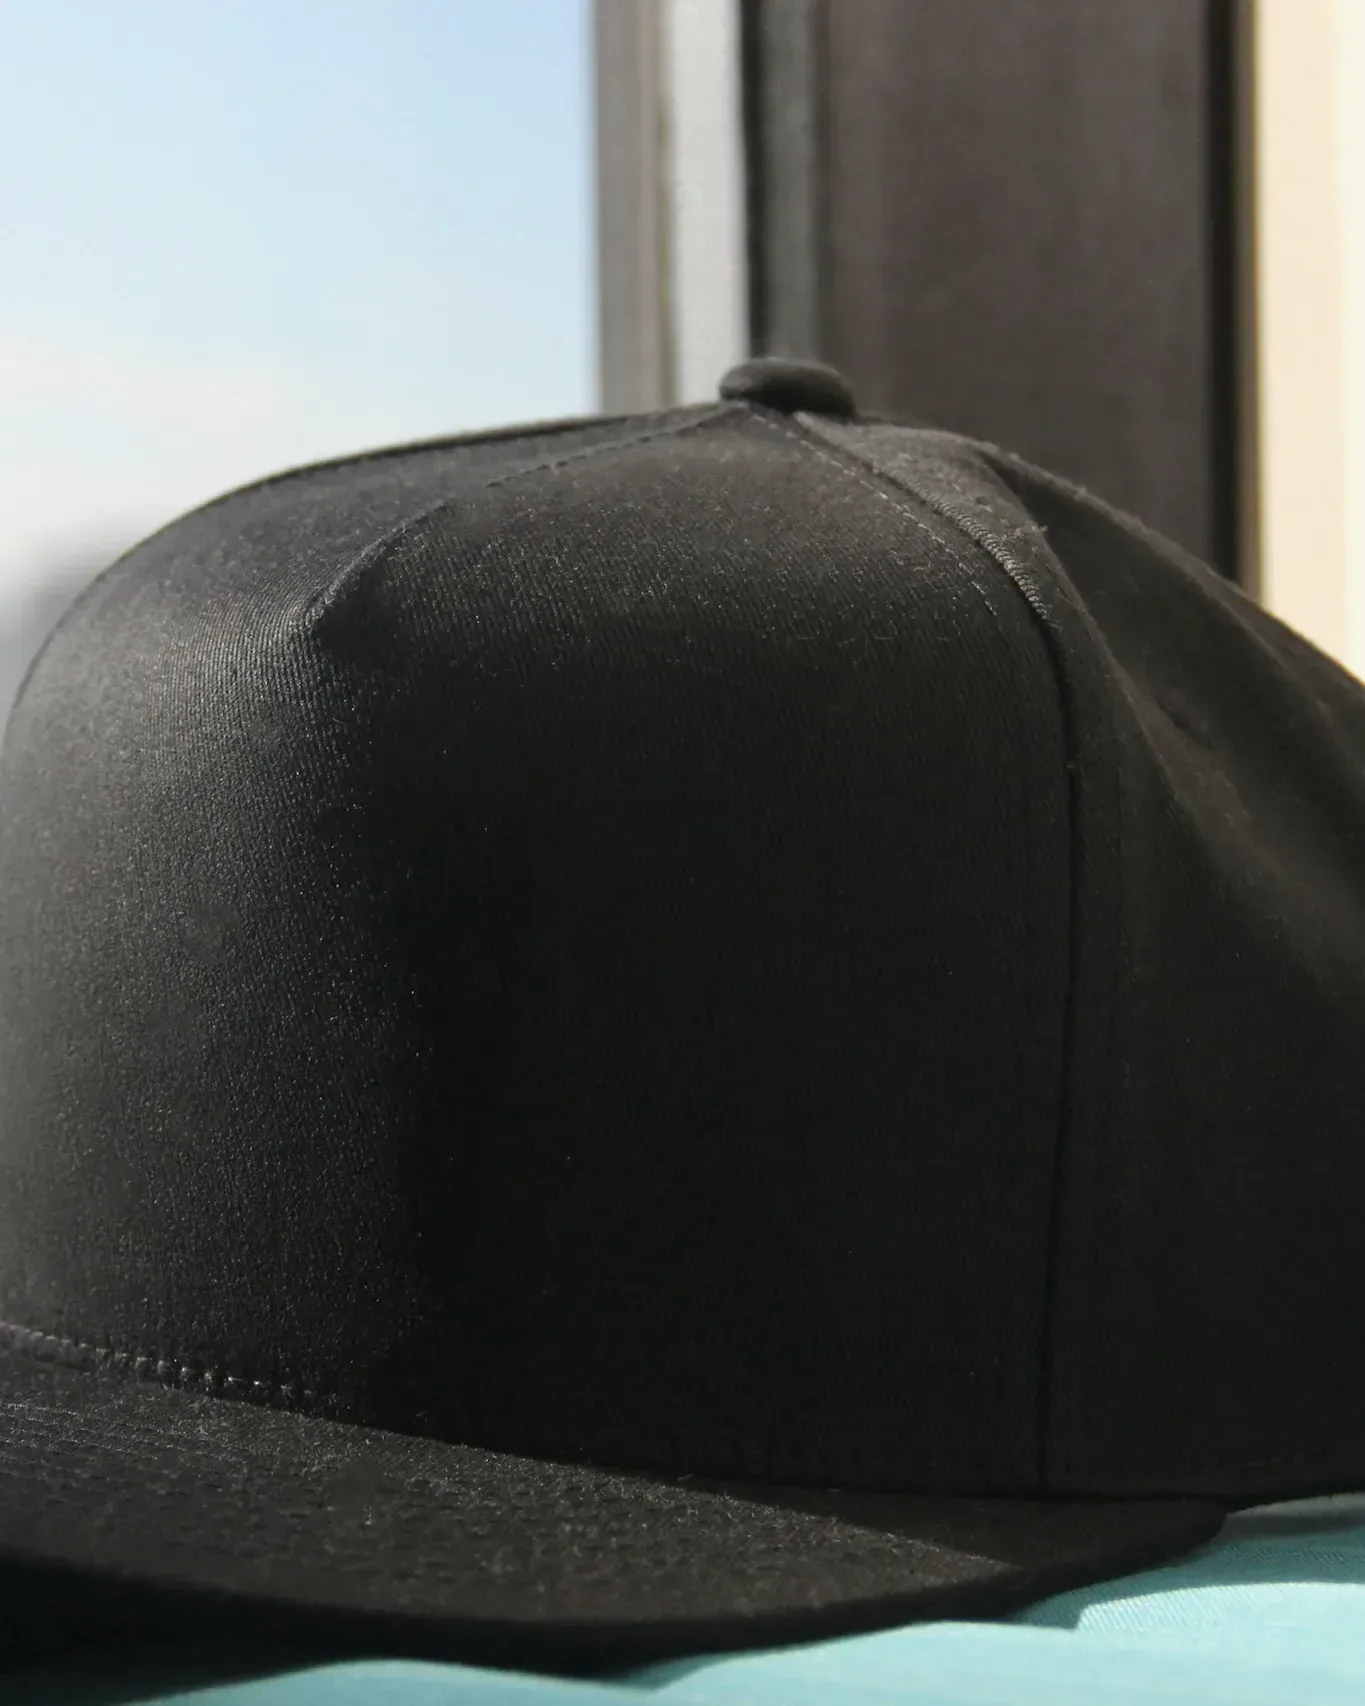
Thread is produced in standard color ranges that do not map one to one onto Pantone references. The closest thread shade is selected and confirmed on the sample. Metallic, neon and glow threads exist but behave differently in production and should be tested on a strike-off.
Color on fabric also depends on the base. The same thread looks different on black twill and on light canvas. Approve thread colors on the actual fabric, under daylight, against your reference.
Decoration interacts with fabric choice, so read this page together with fabric and material options. For an overview of decoration choices by product, see customization.
Questions buyers ask
Can small text be done in 3D puff embroidery?
Not reliably. 3D puff needs width for the foam to hold its shape, so it suits bold shapes and thick letters. Small text is better in flat embroidery, a woven patch or print.
Which decoration gives the finest detail?
Woven patches and labels, heat transfers and sublimation reproduce finer detail than embroidery. The right choice depends on the fabric and the look you want.
Will the thread exactly match my Pantone color?
Thread comes in standard ranges, so the closest available shade is selected and confirmed on the sample. Approve it on the actual fabric under daylight.
Does adding a side or rear logo increase cost?
Yes. Each additional position is a separate decoration step with its own setup and handling. The effect is shown on the quotation.
Let's make your cap.
Style, quantity, colors and artwork are enough to start. A project contact replies with questions or a quotation.