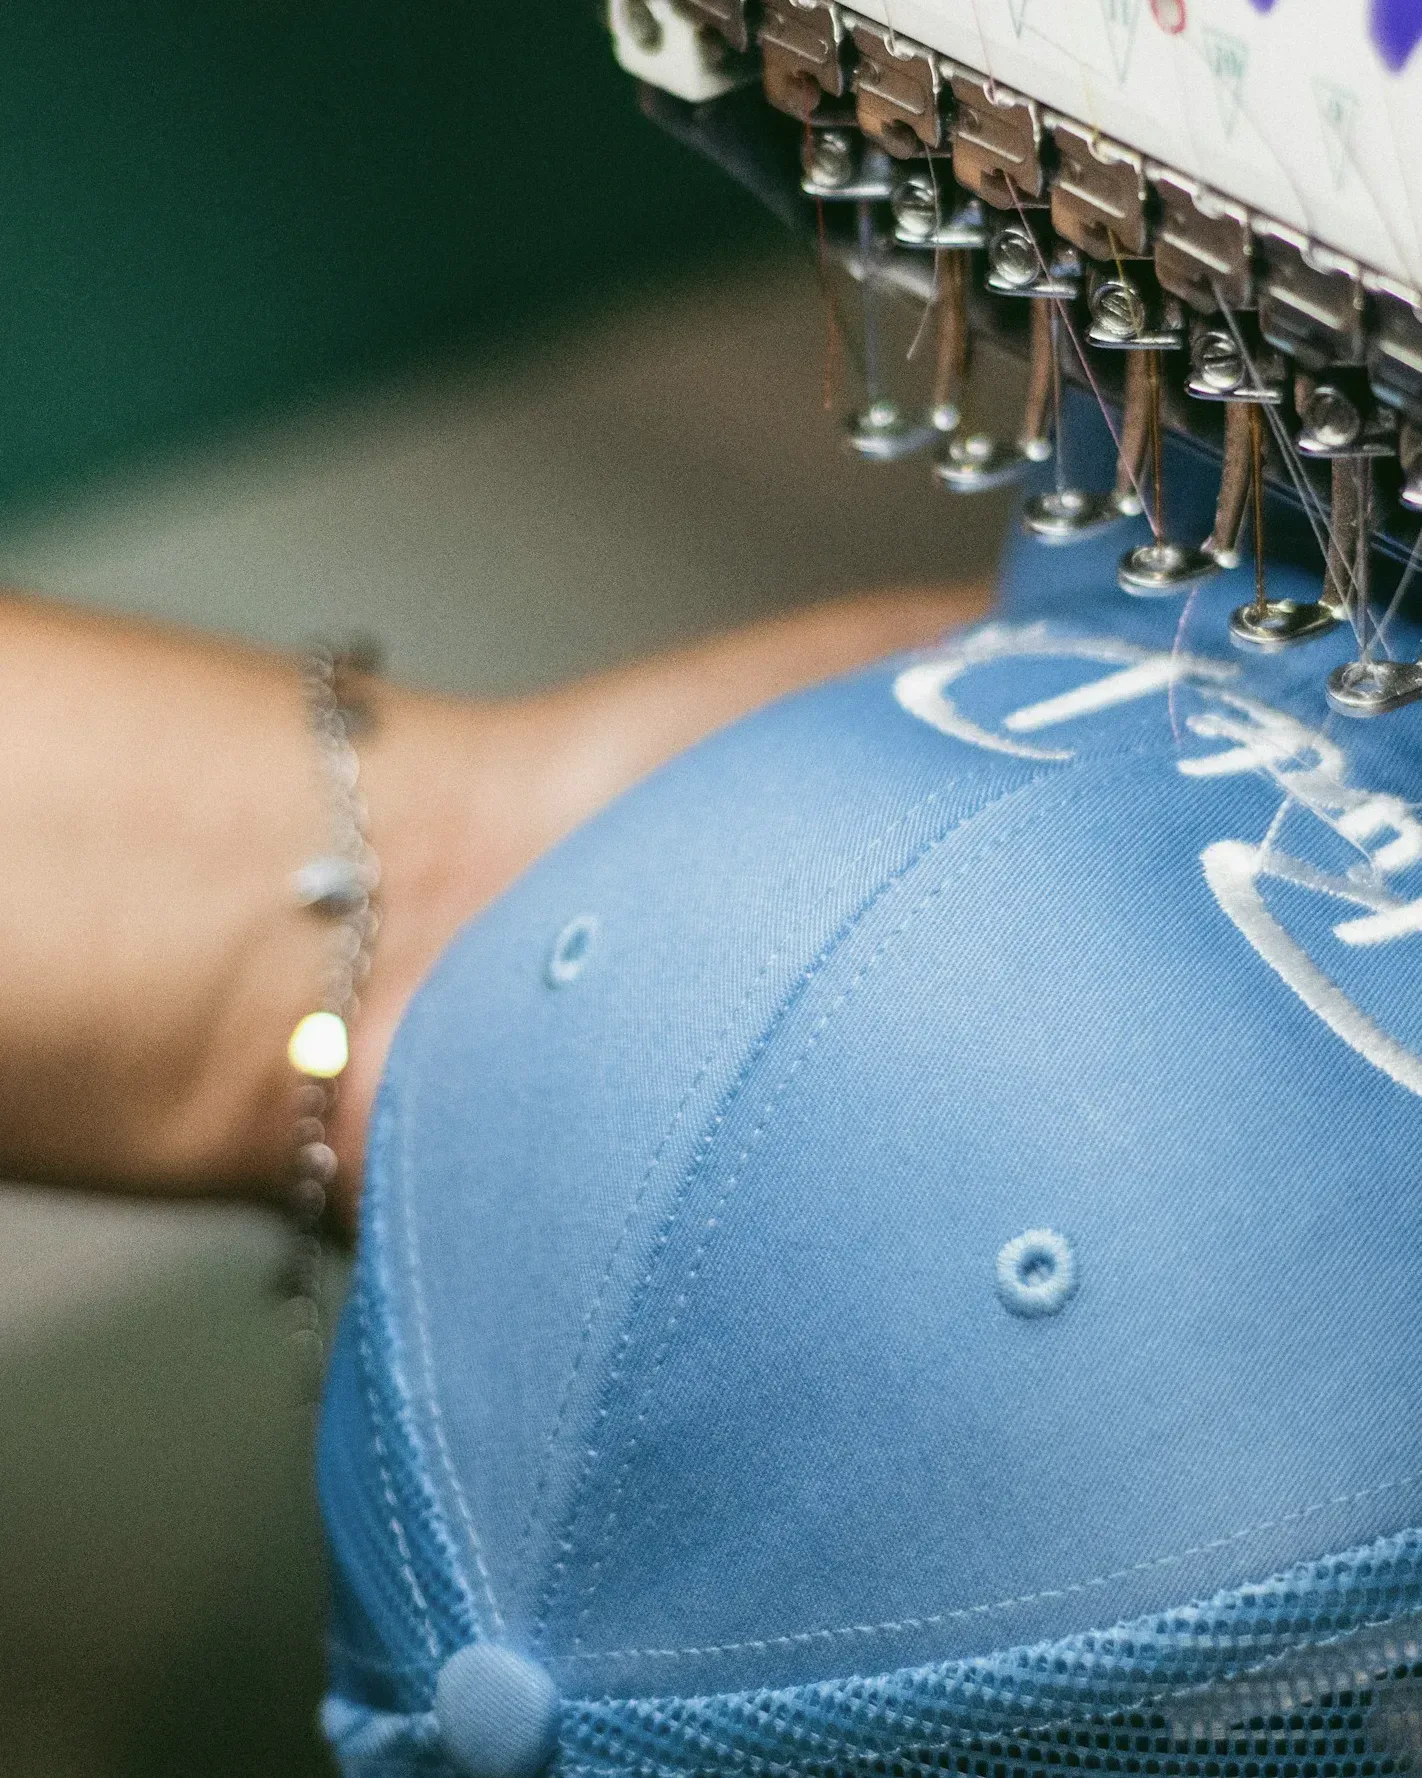
Flat Embroidery vs 3D Puff Embroidery
Flat embroidery handles detail and multiple colors; 3D puff creates a raised, bold logo over a foam underlay. The right choice depends on the shape of your logo, the cap front and the look you want.
Updated · Caps Island product development
Key takeaways
- Flat embroidery suits detailed logos, small text and multicolor designs.
- 3D puff embroidery raises the design over foam and works best for bold, simple shapes and thick lettering.
- Puff needs a firm, structured front for consistent results.
- Many logos combine both: puff for the main shape, flat for small details.
- Always judge embroidery on a physical sample at actual size.
How each technique is built
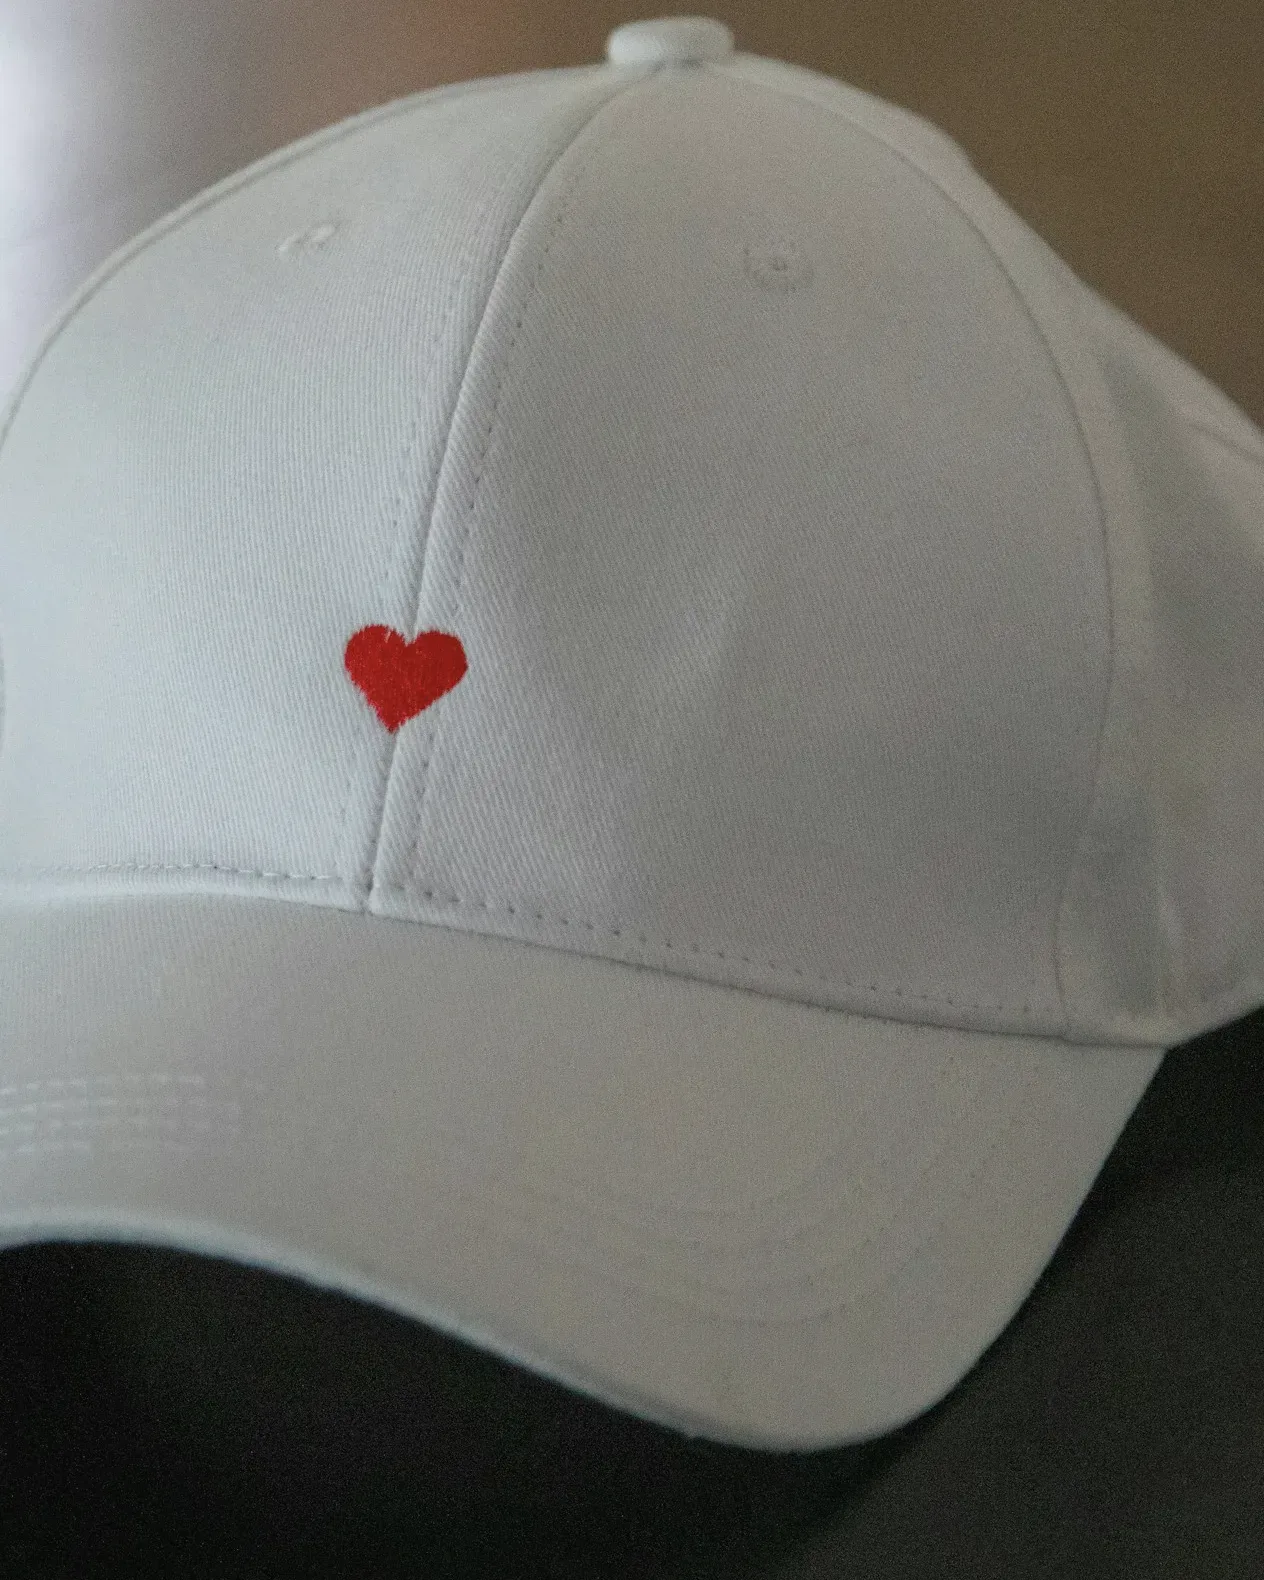
Flat embroidery stitches thread directly onto the fabric. The design is converted into a stitch file, a process called digitizing, that sets stitch type, direction, density and sequence. Fill areas use rows of stitches; outlines and small text use satin stitches or running stitches. The finished logo sits slightly above the fabric surface but reads as flat.
3D puff embroidery places a layer of embroidery foam on the cap before stitching. Dense satin stitches are sewn over the foam, perforating it along the edges of the shape. The excess foam is then torn away, leaving the stitched area raised over the foam that remains underneath. The result is a sculpted, rounded logo with clear depth.
Flat embroiderySatin or fill stitches on the surface
3D puff embroideryStitches wrap a foam underlay
- Cap fabric + backing
- Foam
Because puff relies on satin stitches wrapping the foam, the shape must be wide enough for the stitches to cover it cleanly. That single constraint explains most of the design rules below. It also means a logo usually needs to be digitized separately for puff, even if a flat embroidery file already exists, because stitch direction, density and underlay are set differently over foam.
Where flat embroidery works best
Flat embroidery is the most versatile decoration on caps. It handles fine lines, small lettering, multiple colors and gradients approximated with thread blends. It works on structured and unstructured caps, and on most fabrics from twill to wool.
- Detailed crests, badges and illustrations.
- Small text, such as a secondary wordmark on a side panel or rear.
- Multicolor logos with many small color areas.
- Unstructured and washed caps, where a raised logo could distort the soft front.
- Secondary positions: side panels, rear arch, undervisor-adjacent areas.
Where 3D puff works best
Puff is a statement technique. It works best for bold shapes, block letters, monograms and simple icons placed on the front of a structured cap. It is closely associated with snapbacks and high-profile streetwear caps, where a large raised logo is part of the style.
Puff does not suit small text, thin lines, fine serifs or tight gaps between letters. Narrow elements cannot be covered properly by satin stitches over foam, so foam may show through or edges may look uneven. Puff also handles sharp interior corners less cleanly than rounded shapes. If your logo has these features, simplify it for puff or use flat embroidery for those parts.
Comparison
| Factor | Flat embroidery | 3D puff embroidery |
|---|---|---|
| Look | Clean, flat, detailed | Raised, bold, sculpted |
| Best artwork | Detailed logos, small text, many colors | Bold shapes, thick letters, simple icons |
| Small text and thin lines | Suitable within limits | Not suitable |
| Cap construction | Structured or unstructured | Structured front strongly preferred |
| Typical positions | Front, sides, rear, any position | Mainly the front panel |
| Relative cost | Lower | Higher, due to foam, denser stitching and slower setup |
| Combination | Can carry fine details alongside puff | Often paired with flat details |
How the cap affects the result
A structured front gives puff a firm base, so the raised area stays even. On an unstructured front, the soft fabric can collapse or ripple around the foam. If you want puff on a relaxed cap, sample it first and be ready to adjust. More on this in Structured vs Unstructured Caps.
On six-panel caps the front logo crosses the center seam. Flat embroidery handles this routinely. Puff over a seam also works, but the seam ridge under the foam can show if the design has a narrow element exactly on the center line. A five-panel front avoids the seam entirely; see Five-Panel vs Six-Panel Caps.
Fabric matters as well. Smooth cotton twill gives clean results for both techniques. Corduroy, coarse canvas and lightweight nylon are more demanding, and fine flat details can break up on textured surfaces. See How to Choose Fabric for Custom Caps.
Thread, color and stitch density
Both techniques use the same embroidery threads, most commonly polyester or rayon. Rayon has a soft sheen; polyester is generally more colorfast and resistant to washing and sunlight, which matters on caps worn outdoors. Metallic and matte threads are also available for specific effects, though metallic thread is less forgiving on small details.
Each color in a logo is a separate thread and a separate pass on the machine. Flat embroidery handles many colors well, but every additional color adds setup and stitching time. Puff is usually limited to fewer colors per raised area, because each raised shape needs continuous satin coverage over the foam. A two-color puff logo with flat details in a third color is a common, practical arrangement.
Stitch count, the total number of stitches in a design, is one of the main drivers of embroidery cost and production time. It rises with logo size, fill area and density. Puff designs typically carry a high stitch count for their size because the satin columns must cover the foam completely. Reducing logo size slightly, or replacing a large filled area with an outline, can lower stitch count without weakening the design. For a fuller view of what drives pricing, see our guide to custom cap cost factors.
Tonal embroidery, with thread close to the fabric color, is a popular choice for premium and minimal ranges. It works well in flat embroidery, where the texture of the stitches carries the logo. In puff, tonal designs rely entirely on shadow and depth, which can look striking on a structured front but may read weakly from a distance.
Combining techniques and preparing artwork
Many strong cap logos mix both methods. Picture a streetwear label with a bold initial and a small tagline underneath. The initial is stitched in puff on a structured snapback front, while the tagline is flat embroidered below it. The puff gives impact, and the flat embroidery keeps the small text readable.
- Supply vector artwork (AI, EPS, PDF or SVG).
- State intended logo width and position for each placement.
- Mark which elements should be puff and which flat.
- Give thread colors as Pantone references or thread card references.
- Remove or thicken thin lines and small text in puff areas.
- Approve the tech pack and judge the physical sample before bulk.
When the sample arrives, review it closely and in daylight. On puff areas, look for foam showing at edges or between stitches, uneven height across the shape, and corners that have rounded off more than intended. On flat areas, check that small text is legible, outlines align with fills, and the fabric around the logo lies flat without puckering. View the cap from a normal distance too: a logo can be technically clean up close and still read poorly from a few meters away.
Puff is mainly a front-panel technique. Side panels and the rear are smaller and more curved, which makes raised foam harder to keep even, and puff at the rear arch can press against the head. Keep secondary positions in flat embroidery unless a sample shows that a small puff element works. Many ranges use this split deliberately: a raised front logo, with a flat side mark and a flat rear wordmark carrying the same brand quietly.
If embroidery is not right for a design, alternatives include raised outline embroidery, woven or embroidered patches, and printing. These are covered on our embroidery and logo applications page and in customization options.
At Caps Island, logo placement, dimensions and colors are set out in the tech pack sent for your approval before sampling, and sampling typically takes 7 to 14 days depending on design. To compare both techniques on your own artwork, include both in your quote request.
Questions, answered
Can small text be done in 3D puff?
Generally no. Puff needs shapes wide enough for satin stitches to cover the foam. Small text and thin lines should be flat embroidered.
Why does 3D puff cost more than flat embroidery?
Puff adds foam, uses dense satin stitching that takes longer to sew, and needs more careful digitizing and setup. Cost is confirmed on the quotation.
Can I combine puff and flat embroidery in one logo?
Yes. A common approach is puff for the main shape and flat embroidery for small details or text.
Does 3D puff work on unstructured caps?
It can, but the soft front may deform around the raised area. Test it on a sample before committing to bulk.
Let's make your cap.
Style, quantity, colors and artwork are enough to start. A project contact replies with questions or a quotation.